
How Much Does 3D Printing Cost? A Complete Cost Breakdown
By Ubaid Ullah
8 min read
Key takeaways
- The cost of a print is filament, electricity, printer wear, labor and any other costs, plus a share for failed prints.
- Cost per good part = subtotal / (1 – failure rate). A 10% failure rate lifts a 9.78 subtotal to 10.87.
- Suggested price = cost / (1 – margin). A 40% margin on 10.87 gives a price of 18.11 and a profit of 7.24.
- Every figure in the examples is a placeholder. Replace each one with your own numbers.
In this guide
Five costs, one total
A print looks cheap because the plastic is the only thing you can hold. In reality the cost of a part has several layers, and most of them are easy to forget.
- Filament, the material that ends up in the part.
- Electricity, used while the printer heats and moves.
- Printer wear, the share of the machine’s price used up by the job.
- Labor, your time removing supports, cleaning and packing.
- Other costs, such as glue, packaging or anything else per print.
On top of those comes the cost of prints that go wrong. We will add that last, because it works differently from the rest.
Where to find each number
- Grams used and print time. Your slicer shows both after you slice a model. Use the settings you plan to print with.
- Spool price and weight. Read them from the spool you bought. They give you a price per gram.
- Printer power. Check the label or manual, or measure it. Heating phases use more than steady printing, so an average is a sensible choice.
- Electricity rate. It is on your electricity bill, as a price per kWh.
- Printer price and lifetime. The price is what you paid. The lifetime in hours is your own estimate of how long it will work.
- Labor time and rate. Time the finishing steps, and decide what an hour of your time is worth.
- Failure rate. Count the share of prints you throw away.
The formulas
- Filament = grams x (spool price / spool weight)
- Electricity = watts / 1000 x hours x rate per kWh
- Depreciation = printer price / lifetime hours x print hours
- Labor = minutes / 60 x hourly rate
- Subtotal = filament + electricity + depreciation + labor + other costs
- Cost per good part = subtotal / (1 – failure rate)
- Suggested price = cost / (1 – margin)
Worked example: an 80 g part
All values here are placeholders, chosen to make the arithmetic clear. Say a part uses 80 g of filament from a spool that costs 20 for 1000 g. It prints in 6 hours on a 250 W printer, with electricity at 0.12 per kWh. The printer cost 750 and is expected to last 3000 hours. Finishing takes 20 minutes at 18 per hour, and other costs are 0.50.
| Cost | Working | Amount |
|---|---|---|
| Filament | 80 x (20 / 1000) | 1.60 |
| Electricity | 0.25 x 6 x 0.12 | 0.18 |
| Depreciation | 750 / 3000 x 6 | 1.50 |
| Labor | 20 / 60 x 18 | 6.00 |
| Other | per print | 0.50 |
| Subtotal | 9.78 |
With no failures, the total is 9.78, which is 0.12 per gram. The surprise is where the money goes. Labor is 6.00 of the 9.78, about 61%, and it is bigger than the plastic, the power and the printer wear put together. A print that costs 1.60 in filament costs far more once your time counts.
Pricing in the failures
Some prints fail and have to be thrown away. If you only count the cost of the prints that work, you ignore the cost of the ones that did not. The fix is to spread the cost of the failures over the good prints.
The formula divides the subtotal by one minus the failure rate. With a 10% failure rate, it is 9.78 / 0.90 = 10.87. The extra 1.09 is the failure buffer. In other words, nine good prints out of ten have to pay for all ten.
Notice that the buffer is not simply 10% of the subtotal. Dividing by 0.90 gives a slightly larger amount than multiplying by 1.10 would. That is the correct way to cover the loss, because the failures themselves also have a cost.
A second example with no labor
A smaller job, again with placeholder numbers. A part uses 50 g from a spool of 1000 g that cost 22. It prints in 3 hours on a 250 W printer at 0.12 per kWh. The printer cost 750 over 3000 hours, and there is no labor cost.
- Filament: 50 x (22 / 1000) = 1.10
- Electricity: 0.25 x 3 x 0.12 = 0.09
- Depreciation: 750 / 3000 x 3 = 0.75
- Total: 1.94, which is about 0.04 per gram
Here the filament is the biggest line at 1.10 of 1.94, about 57%. Put the two examples side by side and you can see that the answer to “what is the biggest cost?” changes from job to job.
From cost to price
If you sell your prints, the cost is only the starting point. A margin target turns it into a price: suggested price = cost / (1 – margin).
Take the 10.87 cost from the failure example and a 40% margin. The price is 10.87 / 0.60 = 18.11, and the profit is 18.11 – 10.87 = 7.24.
A 40% margin is not the same as adding 40% to the cost. That mix-up is common, and markup vs margin explains it in full. If you sell on a marketplace, take its fees off as well. How Etsy fees work shows one example of how those fees are worked out.
A note on placeholders
Every number in this guide is an example to show the method. None of them describes what filament, printers or electricity cost, and we make no claim about typical prices. The default values in the 3D Printing Cost Calculator are placeholders too. Replace each box with your own figures, from your own spool, your own bill and your own printer.
Results are estimates. The printer lifetime and the failure rate are guesses, so the depreciation and the failure buffer are only as good as those guesses. For more tools in this group, see the Pets and Hobby Calculators page.
Frequently asked questions
How do I calculate the cost of a 3D print?
Add filament, electricity, printer wear, labor and other costs to get a subtotal. Then divide by one minus your failure rate to get the cost per good part. Our placeholder example gives a subtotal of 9.78 and a cost of 10.87 with a 10% failure rate.
Why include a failure rate?
Because failed prints cost money too, and only the good prints can pay for them. Dividing the subtotal by one minus the failure rate spreads that loss across the good parts. Leaving it at zero makes your costs look lower than they are.
What is printer depreciation?
It is the share of the printer’s price used up by one job. Divide the price by the hours you expect it to last, then multiply by the print hours. The lifetime is your own estimate, so the figure is an approximation.
How do I turn the cost into a price?
Divide the cost by one minus your target margin. With a cost of 10.87 and a 40% margin, the price is 18.11 and the profit is 7.24. Remember that margin is a share of the price, not a percentage added to the cost.
Use your own numbers. Enter grams, hours, power, rates, labor and a failure rate to get the cost per part and a suggested price.
Tools used in this guide
Related articles

Dog Years to Human Years: Why the 7x Rule Is a Myth
Read article: Dog Years to Human Years: Why the 7x Rule Is a MythWhy multiplying a dog’s age by 7 is wrong. See the size-based chart, the UC San Diego formula and a free dog age calculator.
About the author
Ubaid Ullah is a digital marketer and SEO specialist, and the independent creator of Zayvora Calculators. Results are estimates for information only. See the Disclaimer.
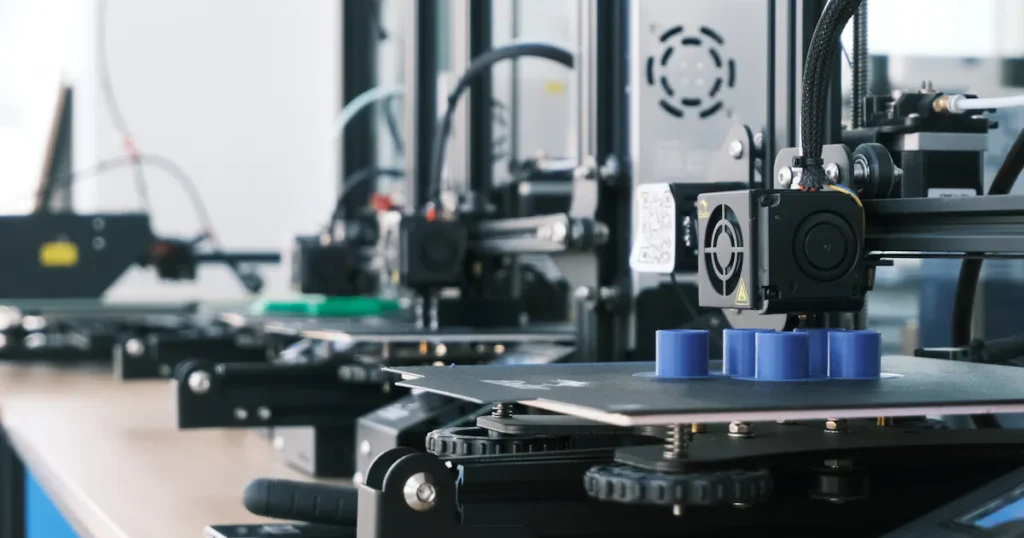
Photo: Minku Kang on Unsplash